Getting Started
Connecting takes a minute and needs nothing copied or pasted. You sign in on savanto.ai, approve the connection, and land back in WordPress with your content already syncing.
Connect Your Site
- Go to Savanto → Settings in your WordPress admin
- Click Connect to Savanto
- Sign in, or create a free account if you do not have one
- Approve the connection for your site
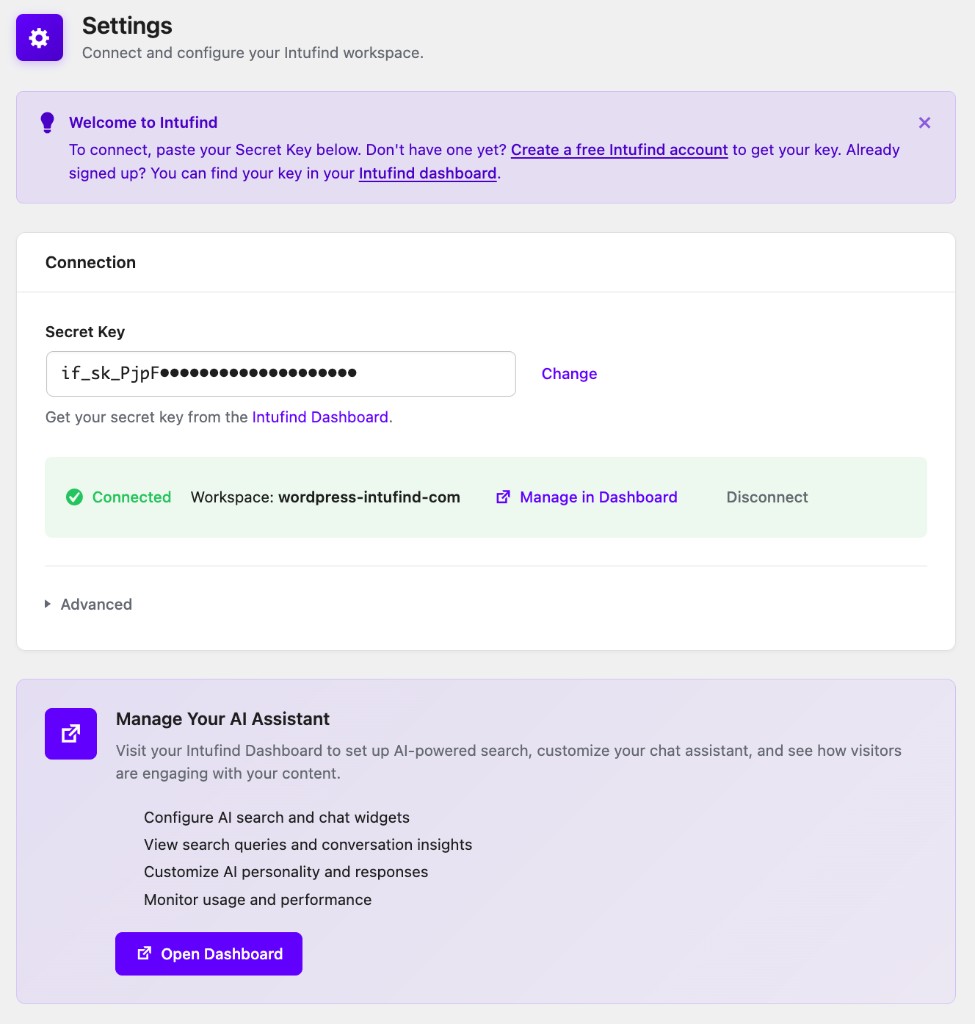
You are returned to WordPress connected. There is no key to find or store — the plugin and Savanto exchange credentials directly, and the key never passes through your clipboard or your browser history.
If you do not have an account yet, create one during this flow rather than beforehand. Signing up part-way through works, including the trip to your inbox for the verification email.
Open that verification link in the same browser you started in. The link brings you back to where you left off, and the record of where that was is kept in your browser — so opening the email on your phone while you started on a laptop will finish the signup but land you on your dashboard instead of back in WordPress. If that happens, nothing is lost: return to Savanto → Settings and click Connect to Savanto again, and it will complete straight away now that you are signed in.
What happens when you connect
- Your site is registered with Savanto and a workspace is attached
- Keys for the search and chat widgets are generated and stored
- Search and chat are switched on
- Your first content sync is queued and starts in the background
The workspace is chosen for you. If your account already has one, the plugin connects to it rather than creating another; reconnecting the same site reuses the workspace it had before.
Connecting With a Secret Key Instead
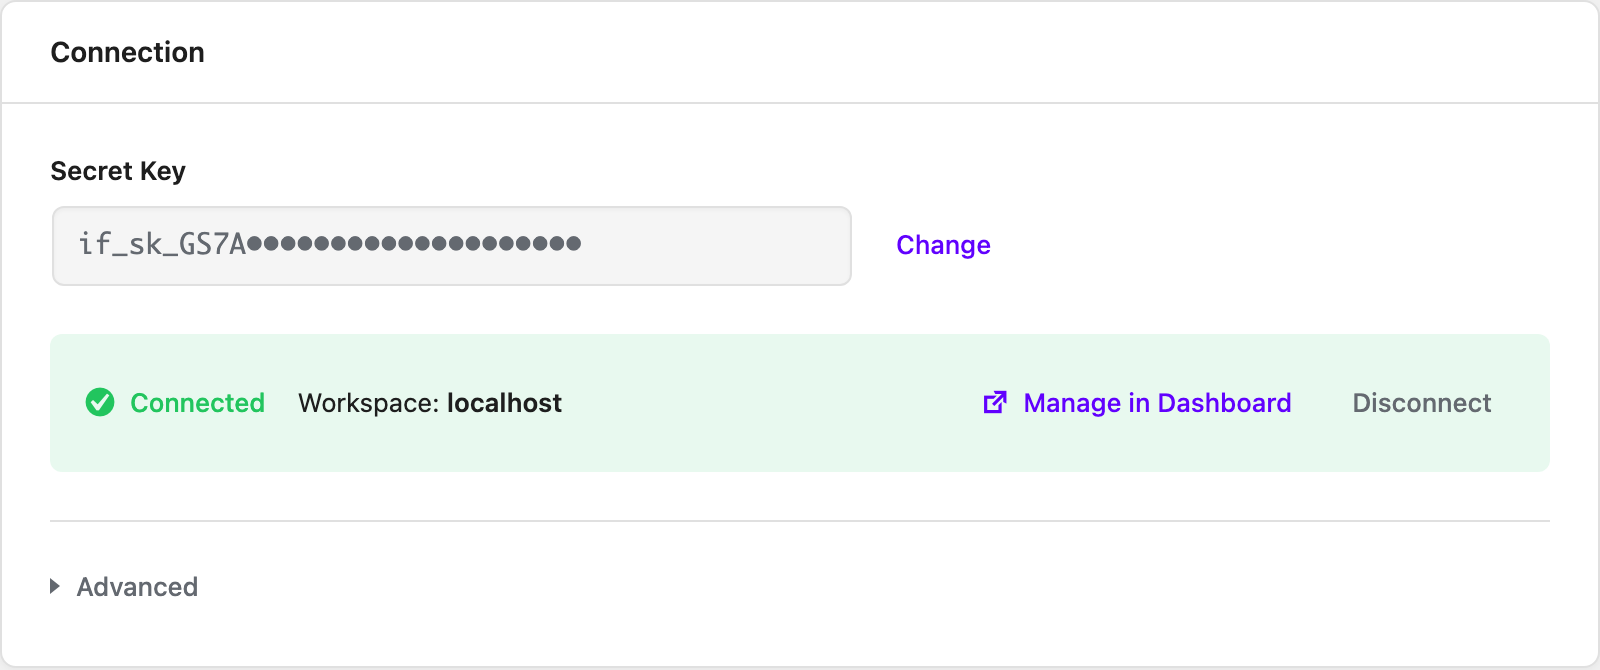
The guided flow is the easy path, but pasting a key still works — useful for moving a site between accounts, or if you would rather not leave WordPress.
- Create a free account at savanto.ai (no credit card required)
- Copy a Secret Key from API Keys in your dashboard
- In WordPress, go to Savanto → Settings and expand Use a secret key instead
- Paste the key and click Connect
Your secret key starts with if_sk_. It grants full access to your workspace, so treat it like a password.
If Setup Does Not Finish
Occasionally a connection completes but the setup after it does not — the site shows as connected while search and chat stay switched off. The Settings screen says so when this happens and offers a Finish setup button, which completes the remaining steps. It is safe to click more than once, and it will not switch a feature back on that you deliberately turned off.
Workspace Management
Switching Workspaces
If you have multiple workspaces, you can switch between them:
- Go to Savanto → Settings
- Expand Advanced
- Choose a workspace from Switch to a different workspace
- Click Switch Workspace
Content you have already synced stays with the workspace it was synced to, so after switching you need to sync again to populate the new one.
Disconnecting
To disconnect your site:
- Go to Savanto → Settings
- Click Disconnect
- Confirm the action
Initial Content Sync
After connecting, sync your content to build the AI knowledge base:
- Go to Savanto → Knowledge
- Select which post types to include (Posts, Pages, Products, etc.)
- Click Sync Now
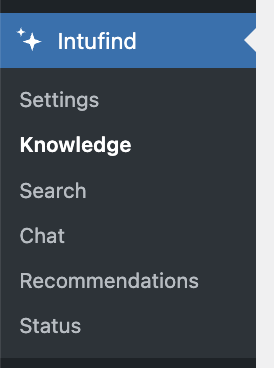
The initial sync may take several minutes depending on your content volume. You can monitor progress on the Status page.
Verify Your Setup
After connecting and syncing, verify everything is working:
Check the Status Page
Go to Savanto → Status to see:
- ✓ API Connection — Connected to Savanto servers
- ✓ Workspace — Active workspace name
- ✓ Indexed Content — Number of documents in your knowledge base
Test the Chat Widget
- Visit your website's frontend (not wp-admin)
- Look for the chat widget (usually bottom-right corner)
- Ask a question about your content
If the chat widget doesn't appear, check that it's enabled in Savanto → Chat.
Test Search
- Use any search form on your site
- Try a natural language query like "products for outdoor activities"
- Results should show semantically relevant content
What's Automatically Enabled
Once connected and synced, these features work immediately:
| Feature | Description |
|---|---|
| Semantic Search | Replaces WordPress search with search that matches on meaning |
| Chat Widget | Floating chat assistant on your frontend |
| WooCommerce Search | Product search enhanced (if WooCommerce active) |
| Real-time Sync | Content changes sync automatically |
No code changes or theme modifications required.
Next Steps
- Knowledge & Content Sync — Configure what content is indexed
- Search Settings — Fine-tune search behavior
- Chat Settings — Enable/disable the chat widget
- Order Support — Enable AI order lookups in chat (WooCommerce)